Ponds and wetlands are a wealth of diversity, but it’s challenging to observe what goes on beneath the surface of the water, or even know what lives there. Fortunately, there is a way to not only see what lives under the water, but to bring it home for long-term observation and study. Creating a wetland container is very simple and requires very few materials. Unlike a fish aquarium, no pumps or other special equipment is needed, and you may already have many of the materials on hand.
MATERIALS
JAR: The first thing you’ll need is a container for your wetland. It can be a large jar or any type of glass container. The container needs to have a wide opening to get materials in and out and also for maintenance. It’s also better to have a larger surface area for water. One of my containers is a glass jar, about a foot tall and 5″ in diameter. The other is a round container about 7″ high with a 10″ diameter. I found both containers at thrift stores. If the container is larger than a jar, consider placing it on a lazy Susan so you can spin it to observe all sizes.
SOIL: Regular garden soil works best for this container. What you don’t want is fancy potting soil because it has too many nutrients in it. If you use potting soil, use organic and avoid perlite and fertilizers.
GRAVEL: Look for clean gravel that is 2-5 mm in diameter. Gravel too large or too small won’t allow the soil to breath and can kill the roots of your plants. Sand isn’t ideal but it can work.
WATER: Tap or rain water both work, but rain water is better.
AQUATIC PLANTS: Wetland plants that grow under water, or are emergent will work. It is not always easy to find suitable plants for small containers, so consider collecting from ponds (with permission). Many aquatic plants can be propagated with just a small piece. I picked up plant pieces that had washed up on the shore of my local lake after consulting a book on wetland plants to make sure they weren’t invasive.
STEPS
LAYERS: The first layer to put in is the soil. Lay down 1-1 1/2″ of soil in the bottom of the glass container. Over the soil, lay an equal layer of the gravel 1-1 1/2″ deep. If you choose to use sand, it needs to be a thinner layer than gravel, only 1/2″-3/4″ deep, so the soil can get air.
ADD PLANTS: Use tweezers or pliers to push the plants roots, or stems if you have cuttings, into the soil. Don’t be afraid to experiment with plants. If they don’t do well, try something else and if they do too well, remove them, or cut them back.
ADD WATER: This step needs to be done slowly and with care. If you dump the water in, it will disturb the soil and you’ll have a muddy mess. You want the water to slowly flow in. One method is to use a rubber tube and siphone water in. Otherwise, hold your hand just over the gravel and pour the water slowly on your hand to break the flow.
PLACEMENT: The placement of your container is important. You want to aim for a consistent temperature and good light. The light may be good in a windowsill, but the temperature fluctuates too much during the day, particularly in summer and winter, and can crash your ecosystem. If you can’t find a place near a window with natural light, you can place a lamp over the container to get light on the plants for at least 12 hours a day.
TIP: Expect to wait about six weeks until the soil stabilizes. You may see fluctuations in algae and murky water until it settles down. The plants will help purify the water as they grow and control algae.
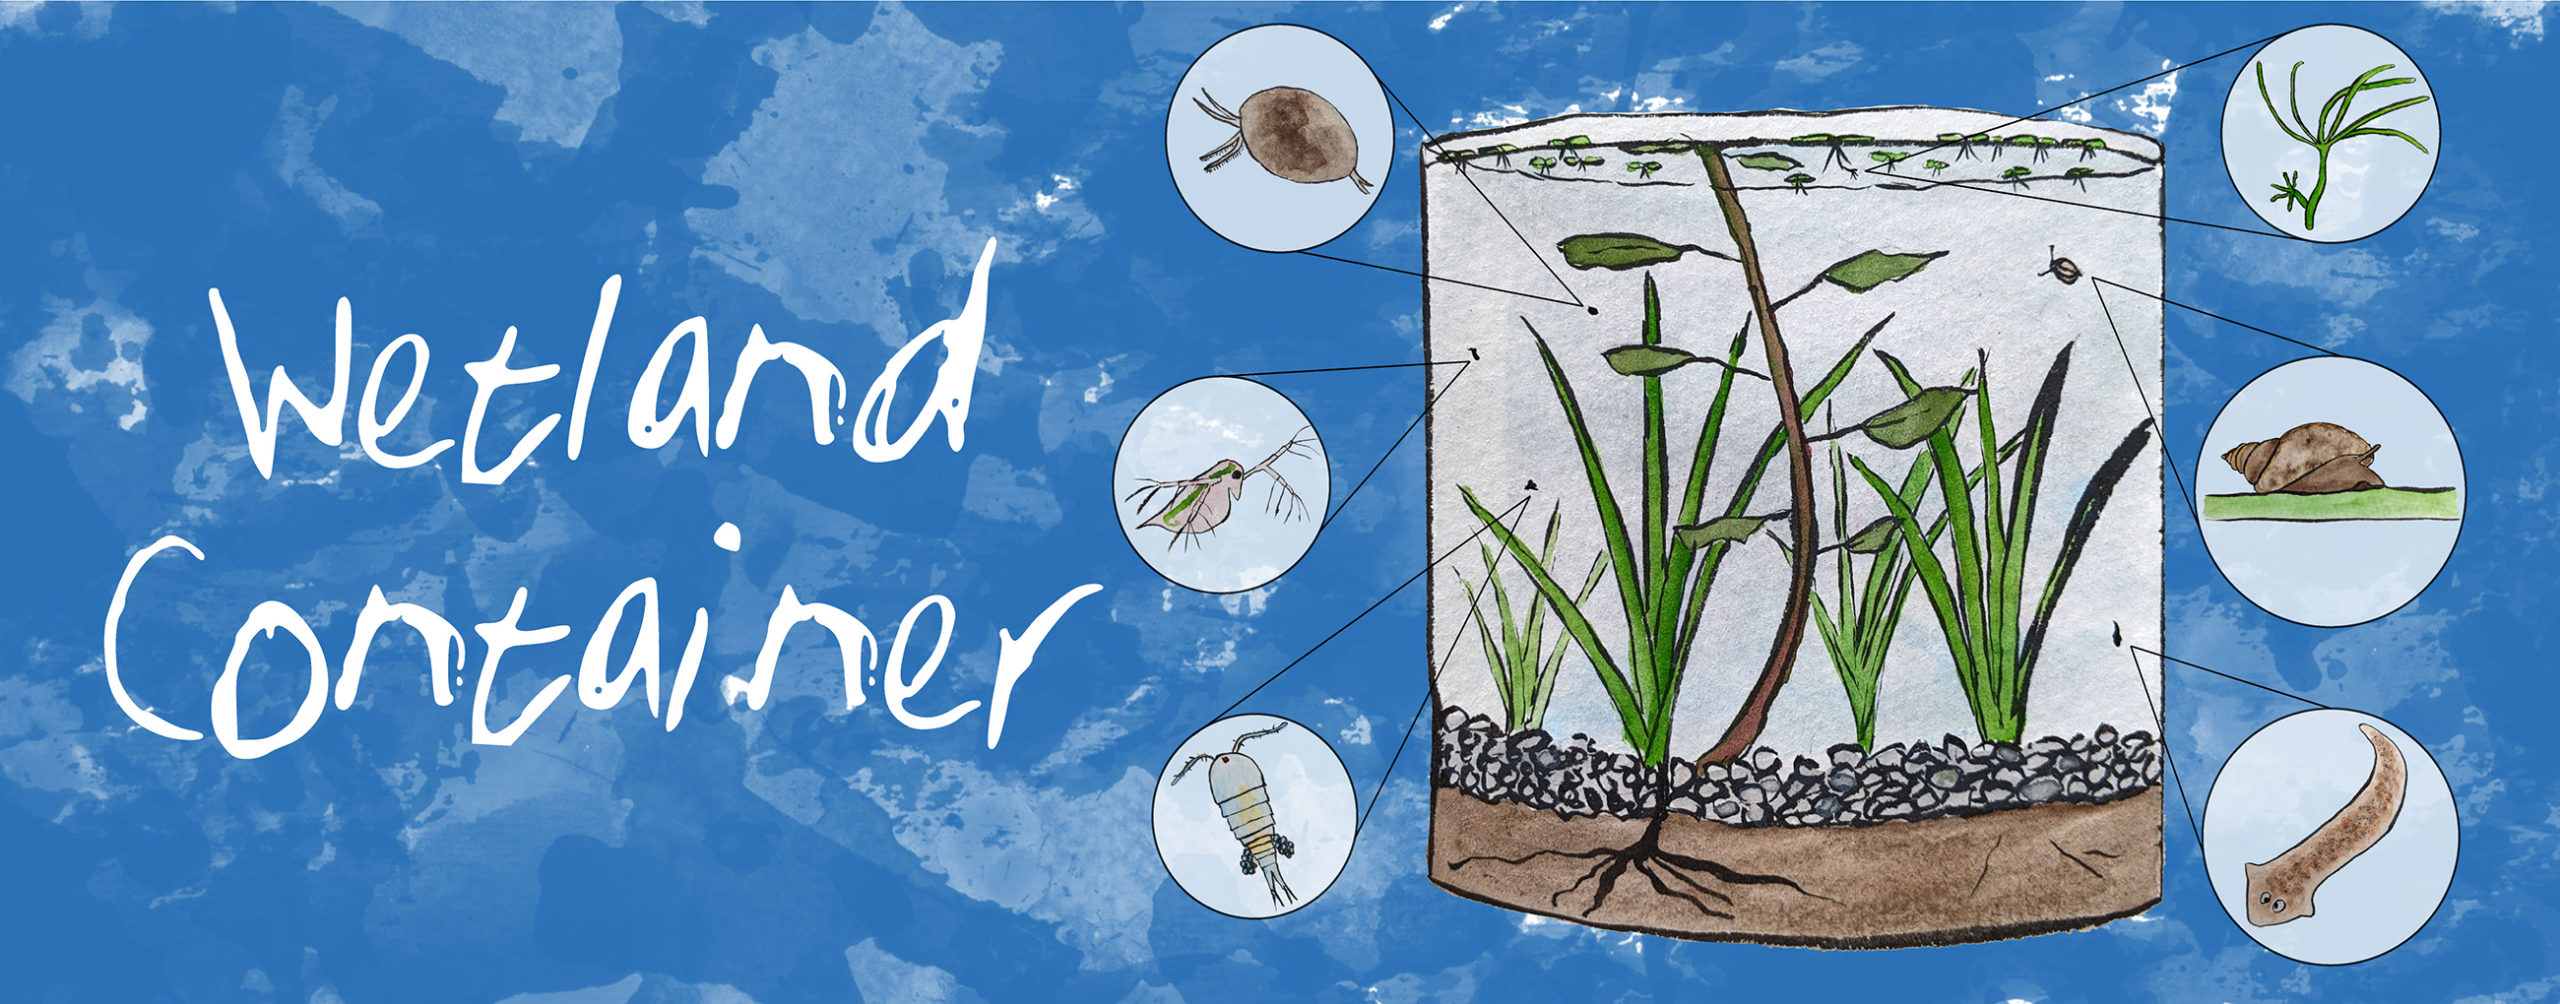
INOCULATE: Visit a pond to collect water. Take along a small container with a lid, and fill it up with the pond water. Try and collect a few aquatic snails if you see them. Gently pour it into your wetland container when you return home. If you’re lucky, you’ll get a good range of aquatic life in your container. Much of it will be tiny and hard to see with the naked eye. See below to learn what you might encounter.
TIP: You can try inoculating your wetland right away, but until the soil stabilizes, the creatures you collect may not survive. You can either try it right away, wait for six weeks, or inoculate again after the soil stabilizes.
MAINTENANCE: Once your wetland is stabilized and inoculated, you shouldn’t have to do more than add water once in a while. Snails and flatworms which you collect from ponds will eat algae and keep the container clean and the plants will purify the water. If the plants grow too dense or too large, you will want to trim or remove some so light can filter through the entire container.
TIP: After six weeks, if the container is overgrown with algae, or the plants are dying, you may need to reconsider your placement and check the amount of light and temperature. Snails are also important, so if you didn’t get any with the first inoculation, try collecting more pond water to add again.
AQUATIC LIFE
When your container is finished, you can start observing the freshwater invertebrates that live in wetlands. A simple hand lens will allow you to study the tiny organisms from the other side of the glass without disturbing the ecosystem. But to look even more closely at what is living in your container, take a water sample and look at it under a microscope. You may find diatoms and ciliates under the microscope. There are many different invertebrates you can see with your bare eye as well.
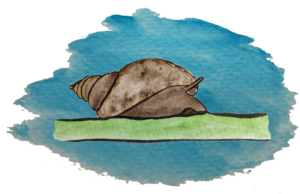
SNAILS: Most aquatic snails feed on algae by scraping it with their radula. Some crawl around on aquatic plants, consuming algae and some can even filter algae out of the water with internal gills. As they feed on the algae that grows on the glass container, you can get an astonishing perspective of their radula at work. They can be tiny and if you’re lucky, you may see snail eggs appear on the vegetation, followed by teeny baby snails which are almost clear when they first emerge.
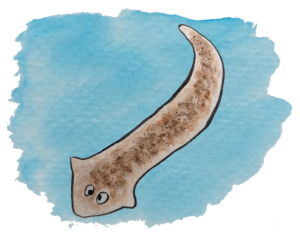
FLATWORMS: Freshwater flatworms are, as the name implies, flat. They have an arrow-shaped head with two cartoon looking eyes on the top. But these eyes are simple eyespots and only detect light and they don’t see shapes or colors. They cling to vegetation, or the glass container, and slide around, but unlike snails, they are predators and feed on small invertebrates. The flatworm claim to fame, is their incredible ability to regenerate. If they are cut in half, they will not die, but turn into two flatworms. They can likewise be cut into many pieces and most of them will regenerate into entirely new worms.
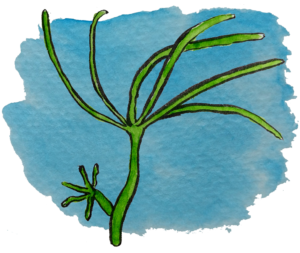
HYDRA: There are multiple types of hydra you may encounter in your wetlands. The most common is a green hydra, but there are also white or gray hydra as well as brown hydra. They are related to jellyfish and share long, stinging tentacles, which they use to catch small invertebrates like water fleas. They are simple animals with only a single opening where food goes out, and the waste leaves from. They mostly remain rooted in place but can move with a somersault motion. One method hydra use to reproduce is budding, which is essentially growing a clone of itself off its side.
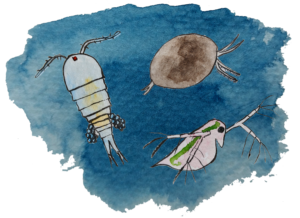
ZOOPLANKTON: Just large enough to see with the naked eye, zooplankton are the most common of freshwater invertebrates. Most are crustaceans, like water fleas, scuds and seed shrimps. Water fleas dart around with long finger-like appendages sticking out while scuds look like flattened fleas. Seed shrimps look like tiny, swimming seeds and the most you can see are little, feathery appendages poking out. Copepods are the other group of crustaceans you’re likely to encounter, and they look like elongated roly polys with long antennae. They can often be seen carrying sacs of eggs.
See How to go Pond Dipping for more information on water fleas and recommended resources.

